Best SSD Cloning Software for Windows 11 and 10
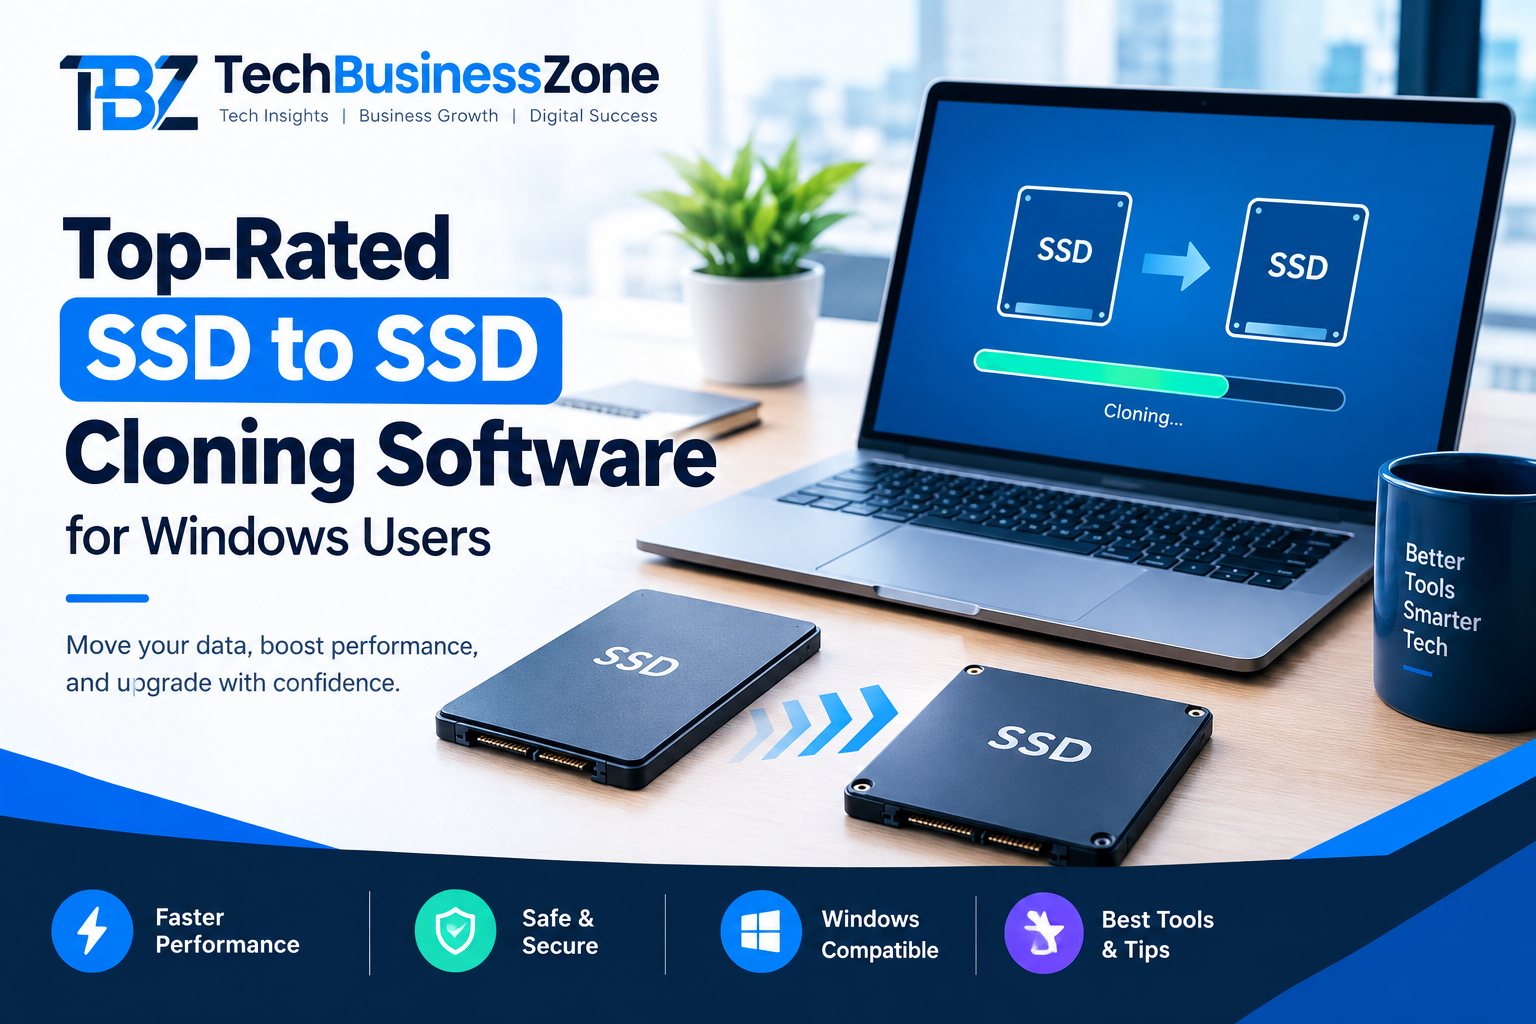
Upgrading from an older SSD to a larger or faster drive does not always require a fresh Windows installation. SSD cloning software can copy your existing Windows installation, applications, files, partitions, and boot information to another drive.
The right tool depends on your situation. Some programs focus on simple Windows migration, while others offer advanced disk management, imaging, deployment, or recovery features. Some provide free cloning options, while others require a paid edition for specific system-disk functions.
This guide explains the best SSD cloning software for Windows 10 and Windows 11, compares their main features, and shows how to clone one SSD to another safely.
If you are also upgrading your technical knowledge alongside your computer hardware, explore these computer programming secrets to improve your coding skills.
Quick Answer: Which SSD Cloning Software Should You Use?
Your best choice depends on your technical experience, budget, and target drive.
- AOMEI Backupper: Suitable for users who want a graphical interface and disk-cloning features.
- Clonezilla: Suitable for advanced users who want a free, open-source cloning tool.
- EaseUS Disk Copy: Designed for disk migration and cloning through a guided interface.
- Macrium Reflect: Suitable for users who need professional-grade disk imaging and cloning features, depending on the current edition and license.
- MiniTool ShadowMaker: Combines backup, system protection, and disk-cloning functions.
- Samsung Magician migration tools: Worth considering when moving to a compatible Samsung SSD.
- Hasleo Disk Clone: An option for users seeking Windows-based disk-cloning functionality.
- Rescuezilla: Useful for users who prefer a graphical interface for offline cloning and recovery tasks.
Before choosing a tool, check its current licensing, supported Windows versions, source-drive encryption requirements, and whether it supports your specific cloning operation.

Best SSD Cloning Software Compared
| Software | Best suited for | Main strengths | Important limitation |
|---|---|---|---|
| AOMEI Backupper | Home users and Windows upgrades | Graphical interface, disk cloning, partition management | Some features may require a paid edition |
| Clonezilla | Advanced users and technicians | Free, open source, powerful disk-copy features | Requires bootable media and has a less beginner-friendly interface |
| EaseUS Disk Copy | Guided disk migration | User-friendly cloning workflow and Windows migration features | Full functionality may depend on the edition |
| Macrium Reflect | Advanced backup and cloning users | Disk imaging, recovery, and cloning capabilities | Product editions and licensing have changed over time |
| MiniTool ShadowMaker | Backup and migration | Backup, restore, system protection, and cloning tools | Some features may be restricted by plan |
| Samsung Magician | Samsung SSD upgrades | Manufacturer-specific SSD management and migration features | Compatibility may be limited to supported Samsung drives |
| Hasleo Disk Clone | Windows-based cloning | Disk and system cloning options | Verify current supported features and licensing |
| Rescuezilla | Offline cloning and recovery | Graphical interface and open-source approach | Requires booting from external media |
Important: “Free download” does not always mean that every cloning feature is free. Check the current product terms before starting a system migration.
If the cloned SSD has unallocated space or you need to resize partitions after migration, a free partition software for Windows can help you manage the available disk space.
1. AOMEI Backupper
AOMEI Backupper is a Windows-based backup and disk-management application that includes cloning features. It can be useful when you want to transfer an existing Windows installation to a new SSD without manually reinstalling every application.
Key features to check
- Disk cloning
- System cloning, depending on the edition
- Partition cloning
- SSD alignment
- Partition resizing
- MBR and GPT support
- Backup and recovery functions
- Support for Windows systems
Advantages
- Familiar graphical interface
- Suitable for users who prefer guided workflows
- Includes backup features in addition to cloning
- Offers partition-management options
Limitations
- Some functions may require a paid edition.
- Features and licensing can change between versions.
- Compatibility depends on the source disk, destination disk, Windows configuration, and encryption setup.
- A successful clone does not automatically guarantee that every system will boot without additional configuration.
Who should consider it?
AOMEI Backupper may suit home users who want a graphical cloning process and additional backup tools in the same application.
2. Clonezilla
Clonezilla is a free, open-source disk-imaging and cloning tool. It is widely used for disk duplication, system migration, backup operations, and deployment tasks.
Advantages
- Free and open source
- Supports disk and partition cloning
- Useful for advanced users and technicians
- Supports several file systems and partition formats
- Can work independently of the installed Windows environment
Limitations
- Usually requires a bootable USB drive or other bootable media.
- Its interface is less accessible to beginners.
- Users must carefully select the source and destination disks.
- It may require more manual decisions than commercial cloning tools.
Who should consider it?
Clonezilla is appropriate for technically confident users who want a powerful free tool and do not mind working through a bootable environment.
3. EaseUS Disk Copy
EaseUS Disk Copy focuses on disk migration and cloning through a guided interface. It is designed for users who want to copy an existing drive to another disk or migrate Windows to new storage.
Potentially useful features
- Disk cloning
- Partition cloning
- System migration features
- SSD and HDD migration
- Partition resizing
- Support for common Windows environments
Advantages
- Guided workflow
- Designed for disk migration
- Useful for users who prefer a graphical application
- Offers options for different cloning scenarios
Limitations
- Some cloning functions may require a paid edition.
- The free version’s capabilities may differ from the full version.
- Users should verify whether the required system-disk operation is available under the current license.
Who should consider it?
EaseUS Disk Copy may suit users who want a dedicated cloning application with a straightforward interface.
4. Macrium Reflect
Macrium Reflect provides disk imaging, backup, recovery, and cloning capabilities. It is often considered by advanced users who want more control over system protection and recovery workflows.
Advantages
- Strong focus on disk imaging and recovery
- Useful for advanced backup workflows
- Supports system migration and disk-copy tasks through supported editions
- Offers recovery-oriented features
Limitations
- The old free edition is no longer the default option for new users.
- Current editions, features, and licensing should be checked before installation.
- The interface may offer more functionality than a user needs for a one-time SSD upgrade.
Who should consider it?
Macrium Reflect may be appropriate for users who want cloning alongside a broader backup and recovery strategy.
5. MiniTool ShadowMaker
MiniTool ShadowMaker combines backup, system protection, restore, and disk-cloning functions.
Advantages
- Includes backup and restore tools
- Can support system migration and disk cloning
- Offers a graphical interface
- Useful for users who want more than a one-time clone
Limitations
- Some functions may be restricted to paid editions.
- The exact cloning options depend on the current version and license.
- Users should confirm whether the software supports their particular disk layout and Windows configuration.
Who should consider it?
MiniTool ShadowMaker may suit users who want to combine SSD migration with an ongoing backup plan.
6. Samsung Magician and Samsung Migration Options
Samsung provides SSD management software through Samsung Magician. Depending on the drive model and current software support, Samsung users may also have access to migration-related functionality or manufacturer-supported migration guidance.
Advantages
- Useful for compatible Samsung SSDs
- Provides SSD health and firmware-management features
- Manufacturer-specific support may simplify some upgrades
Limitations
- Compatibility may depend on the Samsung SSD model.
- It may not be suitable for cloning to a non-Samsung destination.
- Migration functionality can change, so check the current Samsung software documentation.
Who should consider it?
Samsung SSD owners should check Samsung’s current migration options before installing a third-party cloning application.
7. Hasleo Disk Clone
Hasleo Disk Clone is designed for disk, partition, and system cloning tasks in Windows environments.
Advantages
- Windows-based cloning workflow
- Supports several migration scenarios
- May be useful for users who want a dedicated cloning tool
- Provides options for disk and system-copy operations
Limitations
- Confirm the current free and paid feature boundaries.
- Check support for encrypted disks, dynamic disks, and the specific Windows configuration.
- Review the destination-drive requirements before beginning.
8. Rescuezilla
Rescuezilla is a graphical disk-imaging and cloning utility that runs from bootable media. It provides an alternative for users who prefer an easier interface than traditional command-oriented cloning tools.
Advantages
- Free and open source
- Graphical interface
- Useful for offline cloning and recovery
- Can help when Windows does not boot normally
Limitations
- Requires bootable media.
- Users must still identify the correct source and destination drives.
- Hardware encryption, unusual partition layouts, and damaged drives may require additional care.
How to Choose the Right SSD Cloning Software
Consider the following factors before selecting a tool.
Windows compatibility
Check whether the software supports:
- Windows 10
- Windows 11
- Your current Windows edition
- UEFI-based systems
- GPT-partitioned drives
- Your SSD interface
Do not assume that software advertised for Windows automatically supports every disk configuration.
System-disk cloning
Some applications support file copying or partition cloning but restrict full system-disk cloning to paid editions.
If your goal is to transfer Windows and boot from the new SSD, confirm that the tool supports:
- System cloning
- EFI System Partition copying
- Recovery partition copying
- Boot configuration transfer
- Windows boot repair, if needed
Source and destination capacity
A larger destination drive is usually easier to manage. If the target is smaller than the source, the cloning tool must support intelligent copying, and the amount of used data must fit on the destination.
For example, a 1TB source drive with only 250GB of usable data may be clonable to a 500GB target, but the software must support resizing, and the partition layout must allow it.
Partition style
Check whether the source uses:
- MBR
- GPT
Modern Windows 11 systems commonly use UEFI and GPT. A mismatch between the disk’s partition style and the system’s boot mode can prevent the cloned drive from booting.
Encryption support
If BitLocker or another encryption system protects the source drive, verify how the software handles encrypted volumes.
Save your recovery key before starting.
Bootable media
Some tools run inside Windows, while others require a bootable USB environment. Bootable tools can be useful when:
- Windows does not start
- The source disk contains active system partitions
- You want to avoid cloning a running operating system
- You need offline recovery tools
Pricing and licensing
Check whether the software offers:
- Completely free cloning
- Free cloning with limitations
- A time-limited trial
- A paid system-cloning feature
- A one-time license
- A subscription
Do not choose a tool based only on the phrase “free download.”
What to Prepare Before Cloning an SSD
Before you begin, complete the following checklist.
1. Back up important files
Cloning usually preserves the source drive, but mistakes can still happen. Maintain a separate backup of important documents, photos, work files, and recovery information.
A clone is not a replacement for a backup because it can copy accidental deletions, corrupted files, or malware to the destination.
2. Connect the new SSD
Connect the destination SSD using one of these methods:
- An available internal SATA connection
- An available M.2 slot
- A compatible USB-to-SATA adapter
- An NVMe USB enclosure
- A compatible external drive dock
Ensure that the computer recognizes the new drive.
3. Confirm the destination drive
Identify the destination by checking:
- Capacity
- Model number
- Interface
- Current partition layout
Selecting the wrong destination can overwrite valuable data.
4. Save your BitLocker recovery key
If Windows uses BitLocker or device encryption, save the recovery key before cloning.
You may also need to review the cloning software’s instructions for encrypted volumes.
5. Check the target capacity
The destination should have enough capacity for the data and partition structure you intend to transfer.
A target drive does not always need to match the source drive’s total capacity, but the cloning software must support shrinking partitions and the used data must fit.
6. Close unnecessary applications
Close programs that constantly write data to the source disk, such as:
- Video editors
- Virtual machines
- Large downloads
- Database applications
- File synchronization tools
This reduces the chance of data changes during the cloning process.
7. Keep the computer connected to power
For laptops, connect the charger and avoid interrupting the process.
Do not shut down the computer or disconnect either drive while cloning is in progress.

Before starting the cloning process, back up important files and make sure you have a recovery option available if something goes wrong. You can also review this guide to data recovery software for Windows before making major changes to your storage.
How to Clone an SSD to Another SSD on Windows
The exact labels vary by software, but most cloning applications follow a similar process.
Step 1: Install a trusted cloning application
Download the software from the vendor’s official website or use a trusted open-source distribution.
Avoid modified installers and unofficial download portals.
Step 2: Open the disk-cloning feature
Look for an option such as:
- Disk Clone
- Clone Disk
- Drive Clone
- System Clone
- Migrate OS
- Copy Disk
Choose the option that matches your goal.
Step 3: Select the source SSD
The source is the drive that currently contains:
- Windows
- Applications
- Files
- Partitions
- Boot information
Double-check the disk number and capacity before proceeding.
Step 4: Select the destination SSD
Choose the new SSD as the destination.
Warning: The cloning process usually deletes or overwrites existing data on the destination drive. Back up anything important on that drive first.
Step 5: Review the partition layout
Check whether the software will:
- Copy all partitions
- Resize partitions automatically
- Leave unallocated space
- Copy the EFI System Partition
- Copy the Windows Recovery partition
If you are migrating Windows, avoid copying only the C: drive unless the software specifically supports the required boot configuration.
Step 6: Enable SSD alignment if available
If the software provides an SSD Alignment option, enable it when appropriate.
Proper partition alignment can help the destination SSD handle storage operations efficiently.
Step 7: Start the cloning process
Review the source and destination one more time, then start the clone.
The duration depends on:
- Amount of data
- Drive speed
- USB connection speed
- SSD interface
- Computer performance
- Cloning method
- Whether the software needs to restart into a preinstallation environment
Do not interrupt the process.
Step 8: Shut down the computer
After the software reports completion, shut down the computer rather than immediately continuing to work.
Step 9: Boot from the new SSD
If possible, temporarily disconnect the old SSD or change the boot order so the system starts from the new drive.
Enter the firmware or BIOS/UEFI settings if necessary and select Windows Boot Manager associated with the new SSD.
Step 10: Verify the clone
Check that:
- Windows starts normally
- Applications open
- Files are present
- The new SSD has the expected capacity
- The partitions appear correctly
- Device encryption behaves as expected
- The system uses the new drive
Do not erase or format the old SSD until you confirm that the new one works correctly.

How to Clone an SSD to a Larger SSD
Moving from a smaller SSD to a larger SSD is one of the most common cloning tasks.
For example, you might move from:
- 256GB to 1TB
- 512GB to 2TB
- 1TB to 4TB
After cloning, the new drive may contain unallocated space if the software copies the original partition sizes without expanding them.
How to use the extra space
Before starting the clone, check whether the software offers:
- Fit partitions to the entire disk
- Expand partition to fill the target
- Add unused space to all partitions
- Edit partitions
- Manual partition resizing
If the software does not automatically use the extra capacity, you may be able to expand the Windows partition after the migration through Windows Disk Management or a partition-management tool.
Do not delete recovery or EFI partitions simply to create free space.
Can You Clone an SSD to a Smaller SSD?
Yes, but only under certain conditions.
The target SSD must have enough usable capacity for the data being copied, and the cloning software must support intelligent or used-sector cloning.
For example:
- Source SSD: 1TB
- Data currently used: 180GB
- Target SSD: 500GB
This may work if the software can shrink the source partitions and fit the used data into the smaller destination.
However, cloning may fail if:
- The source partition contains more data than the target can hold.
- The software requires equal or greater destination capacity.
- The partition layout cannot shrink safely.
- The source contains large recovery or reserved partitions.
- The target uses an incompatible partition format.
Always back up the source before attempting a smaller-drive migration.
How to Clone a SATA SSD to an NVMe SSD
Cloning from a SATA SSD to an NVMe SSD is possible, but hardware compatibility matters.
What you need
- A computer that supports the target NVMe SSD
- An available M.2 NVMe slot or compatible NVMe enclosure
- Cloning software that supports the source and destination configuration
- Correct UEFI and GPT settings, where required
Important considerations
Check the M.2 slot
Not every M.2 slot supports NVMe. Some M.2 slots support only SATA-based M.2 drives.
Check your motherboard or laptop specifications before purchasing the target SSD.
Use a suitable enclosure.
If the computer has only one internal slot, connect the new NVMe SSD through a compatible USB NVMe enclosure.
A standard SATA-to-USB adapter cannot connect an NVMe drive.
Confirm boot compatibility
After cloning, the system must support booting from the new NVMe drive. You may need to:
- Change the boot order
- Select the correct Windows Boot Manager
- Confirm UEFI mode
- Check that the EFI System Partition transferred
- Update firmware if the manufacturer requires it
Do not erase the old SSD immediately
Keep the original SATA SSD intact until the computer boots successfully from the NVMe drive.
BitLocker and Encrypted SSD Cloning
Modern Windows computers may use BitLocker or device encryption. Encryption can affect how cloning software reads, copies, and restores the disk.
Before cloning an encrypted SSD:
- Save the BitLocker recovery key.
- Confirm whether the cloning software supports the encryption state.
- Read the software’s current instructions.
- Follow any required steps for suspended protection, decrypted volumes, or sector-level copying.
- Restart Windows and verify encryption status after migration.
Do not assume that every cloning program handles BitLocker in the same way.
If Windows requests a recovery key after the migration, use the saved key rather than repeatedly restarting the computer.
How to Make a Cloned SSD Bootable
A clone may contain the correct files but still fail to boot if the boot configuration does not match the computer’s firmware settings.
Check the following items.
Boot order
Open BIOS/UEFI settings and ensure that the computer selects the new SSD or its associated Windows Boot Manager.
UEFI and Legacy mode
A system installed in UEFI mode generally needs the appropriate UEFI boot configuration. A mismatch between UEFI and Legacy/CSM settings can prevent startup.
GPT and MBR
The source disk’s partition style should match the boot method supported by the computer.
Modern Windows installations commonly use:
- GPT partition style
- UEFI firmware
Older systems may use:
- MBR partition style
- Legacy BIOS mode
EFI System Partition
A Windows installation may require an EFI System Partition to boot in UEFI mode. If the cloning process omits it, the new SSD may not start Windows.
Recovery partition
The Windows Recovery partition can help with repair and recovery functions. Avoid deleting it without understanding its purpose.
What to Do After Cloning
After the new SSD boots, complete these checks.
Verify the Windows installation.
Confirm that:
- The desktop loads normally.
- Windows recognizes the new SSD.
- Your applications open.
- Your files are available.
- Your user profile works.
- Windows activation remains valid.
- Device encryption works as expected.
Check the drive capacity.
Open Windows Disk Management or File Explorer to confirm that the new SSD shows the expected capacity.
If the drive contains unallocated space, expand the appropriate partition only after confirming the partition layout.
Update SSD firmware if necessary
Use the SSD manufacturer’s official management tool to check firmware and health information.
Do not update firmware during an unstable migration process unless the manufacturer’s instructions require it.
Keep the old SSD untouched
Use the old SSD as a fallback until you have tested the new installation.
Only erase or repurpose the old drive after confirming that:
- Windows boots reliably
- Important files are present
- Applications work
- You have another backup
Common SSD Cloning Problems and Fixes
The new SSD does not appear in the software
Possible causes include:
- Loose connection
- Unsupported enclosure
- Missing storage controller driver
- Incorrect adapter
- Disabled storage port
- SSD firmware issue
- Hardware incompatibility
Try reconnecting the drive, checking Disk Management, and confirming compatibility with the computer or enclosure.
The clone finishes, but Windows will not boot
Check:
- BIOS/UEFI boot order
- Windows Boot Manager selection
- UEFI versus Legacy mode
- GPT versus MBR
- EFI System Partition
- Whether the old drive is still connected
- Whether the cloning software copied all required system partitions
You may need to use Windows Startup Repair or the cloning tool’s boot-repair function.
The computer boots from the old SSD
This commonly happens when both drives remain connected.
Temporarily disconnect the old drive or select the new SSD’s Windows Boot Manager in the firmware settings.
The new SSD has less usable space than expected
The cloning tool may have preserved the original partition sizes.
Use a supported partition-resizing function or Windows Disk Management to expand the appropriate partition into unallocated space.
The cloning software says the destination is too small
Check the amount of used data and the source partition layout.
If the target is smaller, use a tool that supports intelligent cloning and partition shrinking. Remove unnecessary files and reduce the source partition size if the software supports it.
Windows requests a BitLocker recovery key
This can happen after a hardware or boot-configuration change.
Use the recovery key you saved before cloning. Check the encryption settings after Windows starts.
The clone is slower than expected
The transfer speed may depend on:
- USB adapter generation
- Enclosure quality
- SATA limitations
- NVMe thermal throttling
- Source-drive health
- Amount of data
- Background activity
The cloning process may not reach the maximum advertised speed of either SSD.
SSD Cloning Versus Imaging and Backup
These methods serve different purposes.
| Method | What it does | Best use |
|---|---|---|
| SSD cloning | Copies one drive directly to another drive | Replacing or upgrading a drive |
| Disk imaging | Saves a drive or partition as an image file | Disaster recovery and later restoration |
| File backup | Copies selected files and folders | Protecting personal data |
| Fresh Windows installation | Installs Windows from scratch | Starting with a clean system |
A clone is useful when you want to move your existing installation to new hardware. However, it can also copy corrupted files, unwanted applications, or malware.
For long-term protection, maintain a separate backup in addition to the clone.
SSD Cloning Safety Checklist
Before pressing the Start button, confirm the following:
- I backed up important files.
- I saved my BitLocker recovery key.
- I identified the correct source SSD.
- I identified the correct destination SSD.
- I backed up any data on the destination.
- The destination has enough capacity.
- The computer recognizes both drives.
- The cloning tool supports my Windows version.
- The software supports my partition style.
- I selected all required system partitions.
- I connected my laptop to power.
- I will not interrupt the cloning process.
- I will test the new SSD before erasing the old one.
Frequently Asked Questions
What is the best SSD cloning software for Windows 11?
The right choice depends on your needs. AOMEI Backupper, EaseUS Disk Copy, Macrium Reflect, Clonezilla, MiniTool ShadowMaker, Hasleo Disk Clone, and Rescuezilla offer different combinations of cloning, backup, recovery, licensing, and ease of use. Check current features before choosing.
What is the best free SSD cloning software?
Clonezilla and Rescuezilla are free, open-source options. Other applications may offer free cloning features but restrict system migration or advanced functions to paid editions. Always verify the current license.
Can I clone an SSD without reinstalling Windows?
Yes. A supported disk-cloning or system-migration tool can copy Windows, applications, files, and required partitions to another SSD. The new drive must be compatible and configured correctly for booting.
Does cloning erase the destination SSD?
Cloning usually overwrites the destination drive or its selected partitions. Back up any important data on the target before beginning.
Do I need to format the new SSD before cloning?
Usually, cloning software can prepare or overwrite the destination drive. You generally do not need to format it manually, but follow the software’s instructions.
Can I clone a smaller SSD to a larger SSD?
Yes. This is one of the most common cloning scenarios. After cloning, you may need to expand the Windows partition to use the additional space.
Can I clone a larger SSD to a smaller SSD?
Sometimes. The used data must fit on the smaller drive, and the software must support intelligent cloning and partition resizing.
Can I clone a SATA SSD to an NVMe SSD?
Yes, provided that the computer supports NVMe, the target is connected correctly, and the cloning process transfers the necessary boot partitions and configuration.
Will cloning copy Windows activation?
Cloning normally transfers the existing Windows installation, but activation behavior can depend on the license type and hardware changes. Verify activation after migration.
Should I keep the old SSD after cloning?
Yes. Keep it until the new SSD boots reliably, and you confirm that your files and applications work correctly.
Is cloning the same as backing up?
No. Cloning creates a copy of a drive on another drive. A backup usually stores data or an image for later recovery and may preserve multiple versions.
Final Takeaway
SSD cloning software can simplify a Windows upgrade by transferring an existing installation to a new drive without requiring a complete reinstall. AOMEI Backupper, Clonezilla, EaseUS Disk Copy, Macrium Reflect, MiniTool ShadowMaker, Samsung’s supported migration tools, Hasleo Disk Clone, and Rescuezilla serve different users and workflows.
Before cloning, verify the software’s current licensing, Windows compatibility, encryption support, destination capacity, and boot requirements. Back up important data, select the correct source and destination, copy the required system partitions, and test the new SSD before erasing the original drive.
The safest migration is not simply the one that finishes cloning. It is the one that leaves you with a working, bootable, verified Windows installation and a separate backup of your important data.