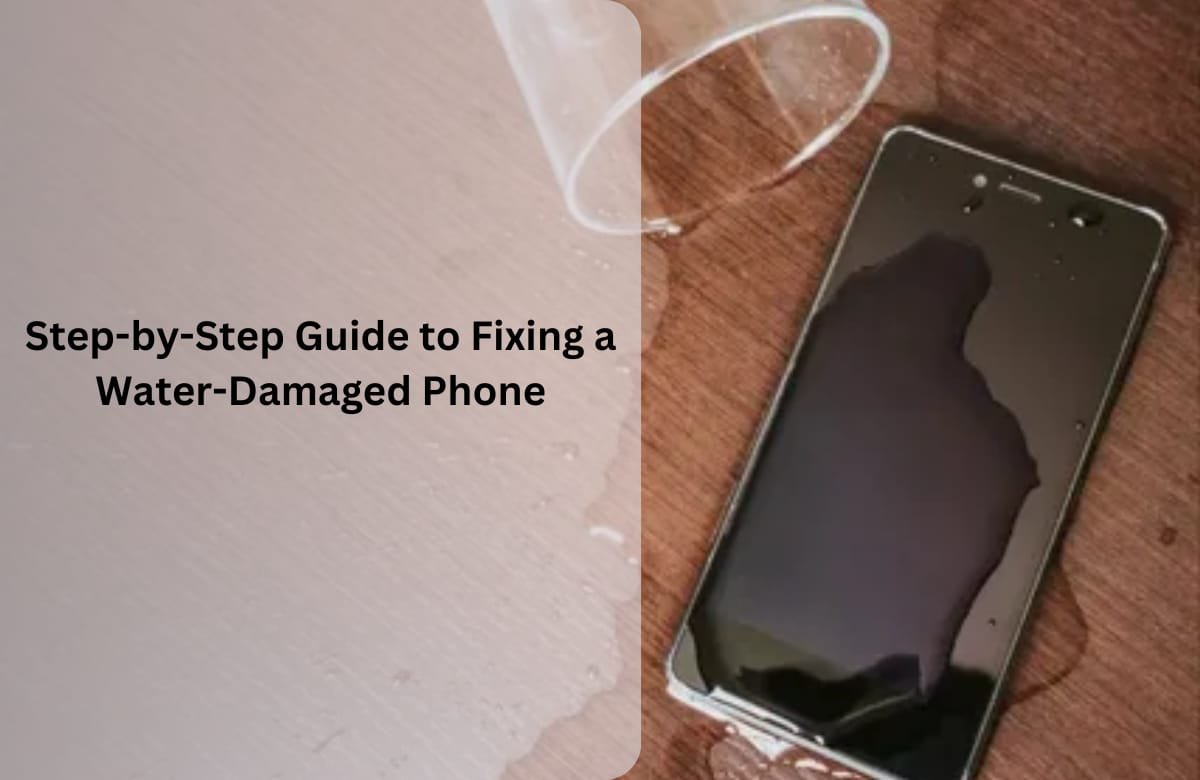
Step-by-Step Guide to Fixing a Water-Damaged Phone
Accidents happen, and one of the most common mishaps is spilling water on your phone. To fix a water-damaged phone, act quickly by retrieving it from the water and powering it off. Remove components like the SIM card and battery, dry the exterior, use silica gel, and wait 48 hours before testing or charging. Seek professional help if needed. If the issue persists, you should get water-damaged phone repair services from a reliable shop.
Easy Steps to Fix a Water-Damaged Phone
Here is a guide to fix this issue:
Step 1: Get Your Phone Out of Water Immediately
The first and foremost action is to remove your phone from the water as soon as possible. The longer it is submerged, the greater the damage. Pick it up immediately, whether it was dropped into a sink, toilet, or puddle. Even a second or two of exposure to water can permit water to enter the inner parts.
Step 2: Power Off Your Phone
After taking your phone out of the water, turn it off right away. If your phone is off, do not try to turn it on. Water may lead to short circuits, which can irreversibly harm the internal components of your device. Do not press any buttons too often; it could move water deeper into your device.
Step 3: Remove External Components
To dry your phone sooner, take away any removable parts like:
⦁ The protective cover
⦁ SIM card
⦁ MicroSD card
⦁ Battery (if your phone has a removable battery)
These components can preserve moisture, so it is better to take them out and dry them one after the other.
Step 4: Dry the Exterior
Dab your smartphone’s surface with a smooth, lint-free fabric or paper towel. Avoid rubbing too vigorously, which will push water deeper into the phone. Pay special attention to crevices, including the charging port, headphone jack, and speaker holes.
Don’t shake or blow into the phone, as it can cause further damage to your phone. Instead, slowly tilt it to allow the water to drain out.
Step 5: Use Desiccants to Absorb Moisture
After the outside is dry, the next step is to remove moisture from the inside. The most effective way to do this is by using a material that absorbs moisture. You can:
⦁ Use Silica Gel Packets: These tiny packets absorb moisture and can be spotted in shoeboxes or electronics packaging.
⦁ Dry Your Phone: Leave your phone in the container for 24 to 48 hours. The longer it is in there, the better the chances of moisture elimination.
Step 6: Consider Vacuuming
If you can get a small vacuum cleaner, you can use it to suck out moisture from your phone’s ports. However, ensure the suction is not too high because it can damage delicate parts.
Do not dry your phone with a hairdryer, microwave, or oven. High temperatures can harm inner circuits and cause other issues.
Step 7: Wait for the Phone to Completely Dry
Although your phone may seem dry outside, water may still be trapped inside. Leave it long enough to dry fully. It is advisable to wait at least 48 hours before powering it on. If wet, attempt to place the phone near a fan or in an air-conditioned space to dry quickly.
Step 8: Avoid Immediate Charging
Wait for 48 hours after your phone has dried before charging it. Avoid charging a water-damaged phone, which can cause short circuits and further damage. Instead, check the phone for any signs of water before charging. If you find water droplets, let the phone dry for longer.
Step 9: Test Your Device
After confirming your phone is completely dry, turn it on. If it powers on, try the following features:
⦁ Touchscreen sensitivity
⦁ Speaker and microphone
⦁ Charging port
⦁ Camera
⦁ Buttons and fingerprint readers (if your phone has them)
If everything goes well, your phone will have survived the water damage. However, keep an eye on it for a couple of days because certain signs of water damage may not show immediately.
Step 10: Seek Professional Assistance if Necessary
If your phone was submerged for a long time or isn’t responding after drying, seek professional phone repair services immediately. A qualified technician can open your phone and inspect it for internal water damage. Water can sometimes corrode the motherboard, and you may need to repair or replace it.
Numerous repair centers provide water damage treatment services, such as ultrasonic cleaning, to flush out corrosion. If your phone is still under warranty, determine if water damage is included.
How to Know Your Phone Has Suffered from Water Damage?
⦁ Moisture Under the Screen: Check for foggy areas or water under the screen.
⦁ Corrosion: Rust or white deposits in the charging port or headphone jack are signs of water damage.
⦁ Faulty Buttons: Sticking or unresponsive buttons could result from water damage.
⦁ Unresponsive Touchscreen: A screen that will not respond or does so erratically could be a sign of water problems.
⦁ Unusual Smells: An unusual or burning smell can indicate internal failures.
Conclusion
Dealing with water damage requires immediate action. Remove your phone from the water, turn it off, and take out components such as the SIM card and battery. Dry the phone exterior, use desiccants to remove the moisture, and wait 48 hours before turning it on. If you experience faulty buttons or weird smells, try professional assistance for water-damaged phone repair.